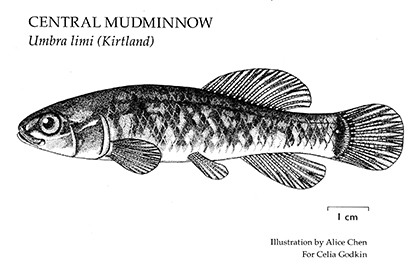
My final indulgence down memory lane....my "pen and ink" fish, done on vellum.
We actually used these rapido graph markers, very finely gauged markers that came in a set of incremental thicknesses. Although a marker cannot make a thin-thick-thin line like as a traditional pen and ink nib can (which can be done by simply applying more pressure on the pen as you draw, thereby increasing the thickness of the resulting line, and then lightening the pressure to thin the line out at the end), you can change from one marker thickness to another to vary thickness. And you can stipple more easily (make shaded areas with a density of dots)!
We actually had specimens of these fish which we measured and drew from. They were placed in a clear, shallow dish with water enough to cover the fish. We used plastic rulers to measure length, width and depth, and a magnifying glass to observe the detail. I actually felt like a true scientist....
In any case, thanks so much for letting me share these old pieces with you. It's great to remember what fun it all was!
 RSS Feed
